In today’s fast-moving world, missing your favorite TV shows, live sports, or events can be frustrating. Fortunately, IPTV (Internet Protocol Television) combined with DVR (Digital Video Recorder) capabilities makes sure you never miss a moment. By integrating IPTV with DVR, you can record live content and watch it whenever you want. In this article, we’ll explore everything you need to know about IPTV DVR: what it is, how it works, and how you can set it up to ensure you always stay in control of your TV viewing experience.

What Exactly Is IPTV DVR?
IPTV, or Internet Protocol Television, refers to the delivery of television content over the internet, as opposed to traditional satellite or cable services. It provides a wide variety of live TV channels, on-demand movies, and even interactive features. DVR, or Digital Video Recorder, is a technology that allows you to record live broadcasts and save them for later viewing.
When combined, IPTV with DVR capabilities enables you to record live TV shows, sporting events, and movies, allowing you to watch them at your convenience. You can pause, rewind, and fast-forward live TV, and even schedule recordings ahead of time. Essentially, it’s like having your own on-demand TV service that fits perfectly around your schedule.
How to Use IPTV with DVR
Setting up IPTV with DVR functionality might seem complex, but it’s actually quite easy, especially when you choose an IPTV provider that offers DVR capabilities. Below are two ways to set up IPTV DVR:
1. Plug-and-Play IPTV DVR (TV Playback)
Many IPTV services offer a built-in feature known as “TV playback,” which allows you to access recorded content from the last 3 to 7 days across various channels. This feature doesn’t require any extra hardware, making it incredibly easy to use.
Advantages:
- Simplicity: No need to install additional hardware or software.
- Automatic Recording: TV shows are automatically recorded for a set period (usually 3 to 7 days).
- No Hassle: No need to manually schedule recordings—it’s all done for you.
Limitations:
- Temporary Access: Recordings are only available for a limited time.
- No Permanent Storage: You can’t keep these recordings forever.
While the “TV playback” feature offers convenience, you won’t be able to store the recordings indefinitely. Still, it’s a great option if you don’t want the hassle of setting up any extra equipment or manually pressing record.
2. Hardware-Based IPTV DVR
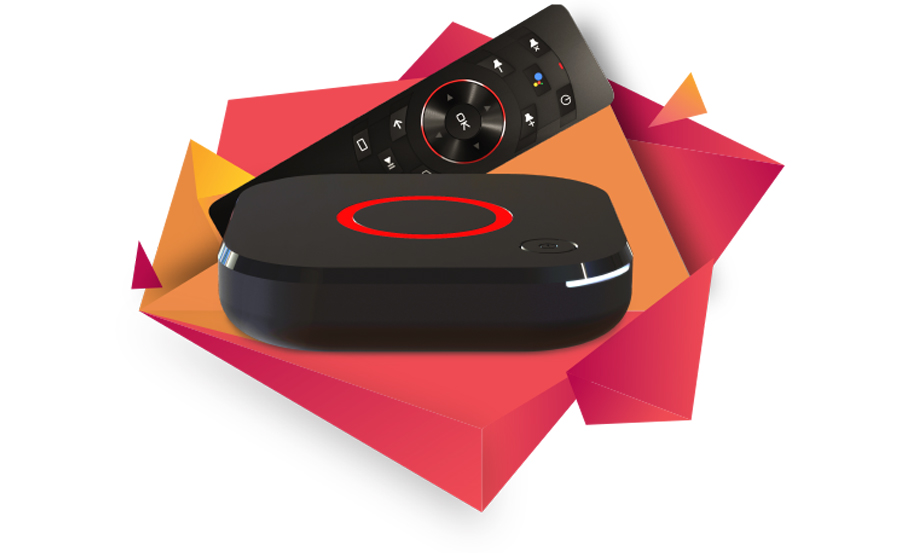
For those who want more control over their recordings and the ability to keep them permanently, hardware-based DVR solutions are the way to go. Devices like MAG IPTV players, Enigma2 boxes, or standalone DVR devices offer robust recording features that give you full control over your content.
How to Locate Server Address in an M3U URL

Using MAG IPTV Players with DVR Functionality
MAG IPTV boxes are popular for IPTV streaming and can easily be configured to support DVR functions. Here’s how to set it up:
Steps to Set Up Hardware-Based IPTV DVR:
- Choose a Compatible Device: Make sure your IPTV player (like a MAG box) supports DVR capabilities.
- Connect Storage Device: Attach an external storage device, such as a USB drive or external hard drive, to your IPTV box for storing the recordings.
- Configure DVR Settings:
- Access the settings menu on your IPTV box.
- Locate the DVR or recording settings.
- Set the storage device as the recording destination.
- Schedule Recordings:
- Use the Electronic Program Guide (EPG) provided by your IPTV service to select programs for recording.
- If your device supports it, you can schedule recordings manually as well.
- Access Recordings: Recorded content will be stored on the external device and can be managed directly through the IPTV box.
Using Standalone IPTV DVR Devices
For even more flexibility, you can use standalone DVR devices alongside your IPTV service. These devices often provide more storage and advanced recording features.
Steps to Set Up a Standalone IPTV DVR:
- Connect the Standalone DVR Device: Connect it to your IPTV box or router, depending on the specific setup.
- Configure Network Settings: Ensure the DVR device is properly connected to your network and is able to communicate with your IPTV service.
- Schedule Recordings: Use the DVR’s interface to select and schedule the recordings from your IPTV channels.
- Manage Recordings: You can access and manage your saved recordings via the DVR’s interface or through a connected storage device.
Conclusion
IPTV with DVR functionality is a true game-changer in the world of digital television, bringing a whole new level of convenience to viewers since it first emerged in 1998. With more IPTV providers offering DVR capabilities out of the box, it’s easier than ever to enjoy recorded TV shows and live events. While the built-in “TV playback” feature has its limitations, it offers a hassle-free way to access recent content. For more serious users, hardware-based IPTV DVR setups provide a more permanent solution with advanced recording features.
With the information provided in this article, you can choose the setup that works best for you, ensuring that you never miss out on your favorite shows, sports, or movies again. Whether you prefer the simplicity of plug-and-play or the control offered by hardware solutions, IPTV DVR gives you the flexibility to watch TV on your own terms.
Setting Up IPTV on Lazy IPTV: Step-by-Step Instructions


