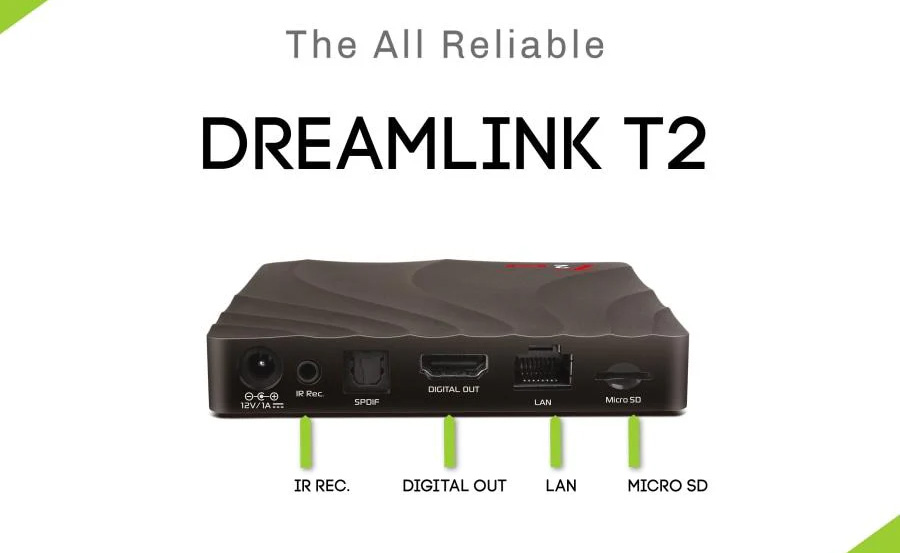
Connecting your Dreamlink device to Wi-Fi is a crucial step in setting up IPTV streaming. A stable internet connection ensures smooth playback of live TV, on-demand content, and other streaming services. Here’s a step-by-step guide to connecting your Dreamlink device to Wi-Fi. want Buy 6 Months IPTV Subscription
Step 1: Power Up Your Dreamlink Device
- Plug the Dreamlink device into a power source and connect it to your TV using an HDMI cable.
- Turn on both the TV and the Dreamlink device using the remote control.
- Wait for the device to boot up and display the home screen.
Step 2: Access Network Settings
- On the Dreamlink home screen, use the remote to navigate to the Settings menu.
- Select Network Settings from the list of options.
- Choose Wi-Fi as your preferred connection method.
Step 3: Select Your Wi-Fi Network
- The device will scan for available Wi-Fi networks and display them in a list.
- Use the remote’s arrow keys to scroll through the list and find your network.
- Select your Wi-Fi network by pressing the OK button on the remote.
Step 4: Enter Your Wi-Fi Password
- A virtual keyboard will appear on the screen.
- Use the remote to navigate and input your Wi-Fi password carefully.
- Double-check the password for accuracy, as it is case-sensitive.
- Once entered, select Connect or press OK to confirm.
Step 5: Verify Connection
- If the connection is successful, you’ll see a notification confirming that the Dreamlink device is connected to the internet.
- The Wi-Fi icon on the screen will display as active.
- Test the connection by opening the MyTVOnline app or any other application that requires internet access.
Step 6: Adjust Advanced Wi-Fi Settings (Optional)
If you experience issues with the connection, consider adjusting these settings:
- Static IP: Assign a static IP address if your network requires it.
- Wi-Fi Band Selection: Switch between 2.4 GHz and 5 GHz bands to optimize connection speed and stability.
- DNS Configuration: Change DNS settings if your IPTV service provider recommends specific values.
Troubleshooting Wi-Fi Connection Issues
1. Incorrect Password
- Re-enter your Wi-Fi password, ensuring it matches the one set for your router.
2. Network Not Detected
- Restart your router and Dreamlink device.
- Move the device closer to the router or switch to a 5 GHz band for less interference.
3. Connection Drops Frequently
- Ensure your internet speed meets IPTV streaming requirements (minimum 10 Mbps recommended).
- Disconnect other devices from the network to free up bandwidth.
- Use an Ethernet cable if Wi-Fi remains unstable.
4. Device Won’t Connect
- Reset network settings by navigating to Settings > Network Settings > Reset.
- Update the device firmware via USB or Ethernet to ensure compatibility with your network.
Tips for a Stable Wi-Fi Connection
- Router Placement: Position the router in an open, central location for better coverage.
- Wi-Fi Extender: Use a Wi-Fi extender or mesh network system to improve signal strength.
- Bandwidth Management: Avoid heavy internet usage by other devices while streaming IPTV.
Conclusion
Connecting your Dreamlink device to Wi-Fi is a straightforward process that enables seamless IPTV streaming. By following the steps outlined above and applying the troubleshooting tips if needed, you can ensure a stable and reliable internet connection for your Dreamlink device.
How to Choose the Best Mag Box Device for Your Needs


